Start a Blog with Github and Jekyll
Coming to Github, it was a pleasant treat to see they give you a cool place to host your own static website, and an added bonus of Jekyll if you’re interested in blogs. So this blog.
Here’s how i got up and running with the basic configuration:
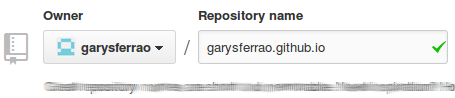
1. Create a GitHub repository
The repository name must be in the exact following syntax:
username.github.io
2. Clone the repository onto your desktop.
You will need to have Git installed. Open a Terminal, and type in:
git clone https://github.com/username/username.github.io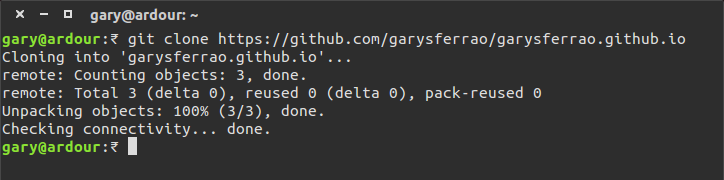
You might want to set up your user name and email, if you haven’t set it up globally.
git config user.name "Gulielmus Cartesius"
git config user.email "gulielmus.cartesius@jekyll+github.dev"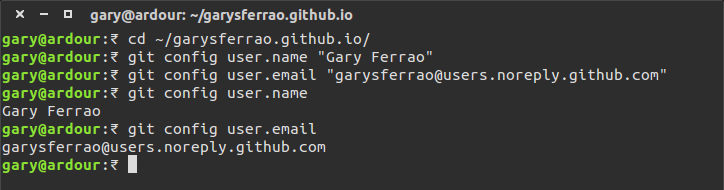
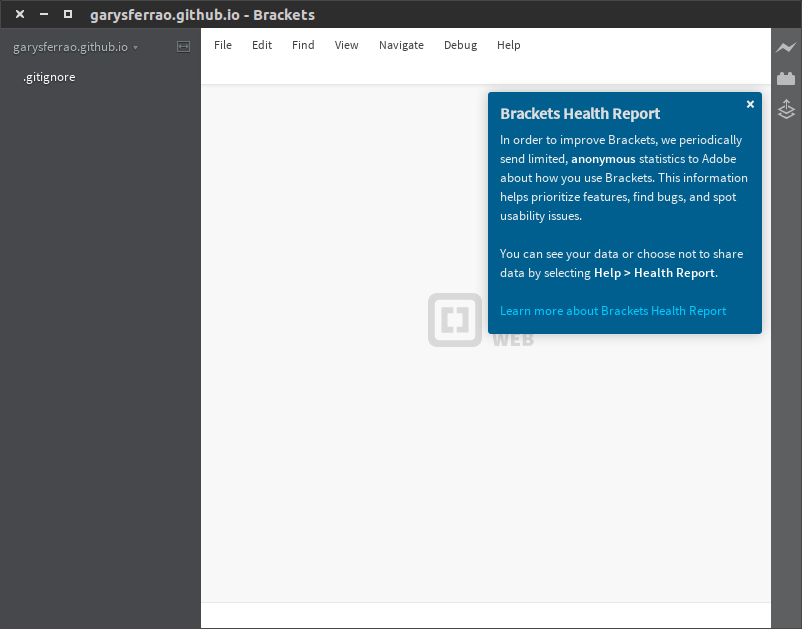
This is how your workspace will look like. In case you’re wondering,
it appears empty, with two hidden items: a .git directory, and a
.gitignore file.
3. Go Jekyll
Install Jekyll by following the instructions on their website. Then, create the Jekyll blog in your workspace…
jekyll new username.github.io
…serve it…
cd ~/username.github.io/
jekyll serve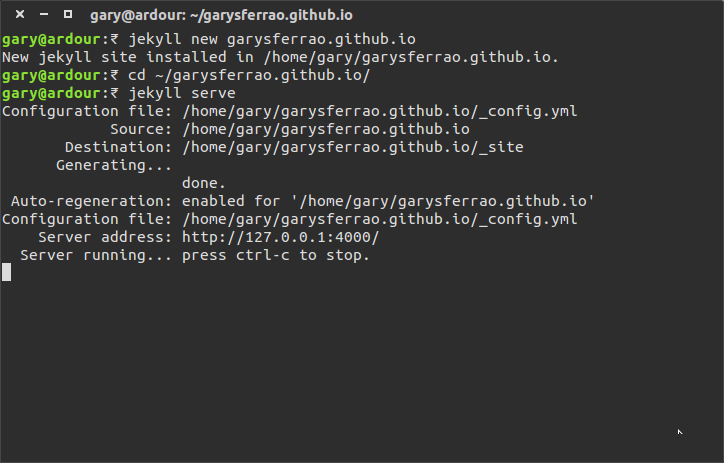
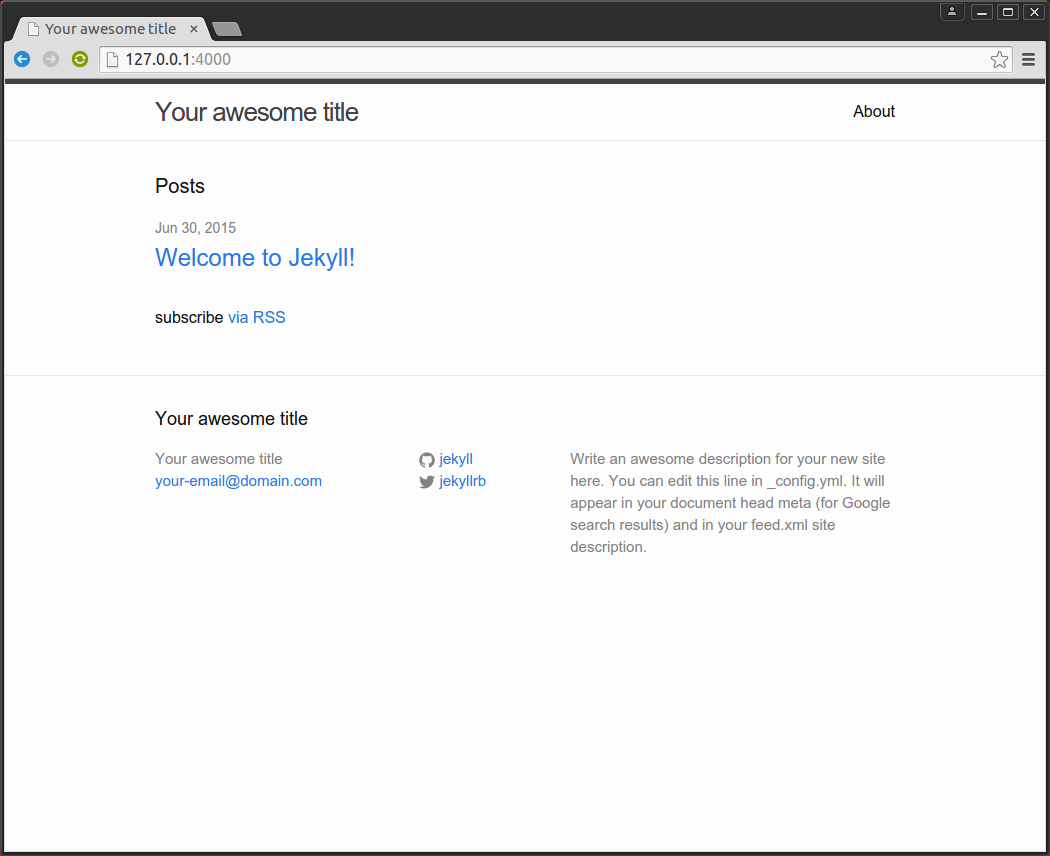
…and navigate your browser to http://127.0.0.1:4000. See your
awesome title!
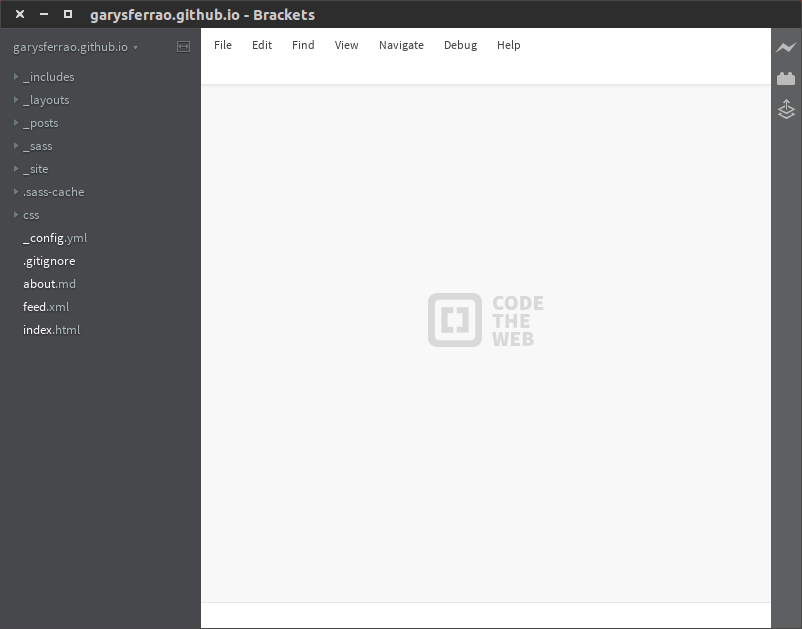
The default workspace looks like this:
4. Personalise your blog
-
Modify
_config.ymlto suit your blog details.
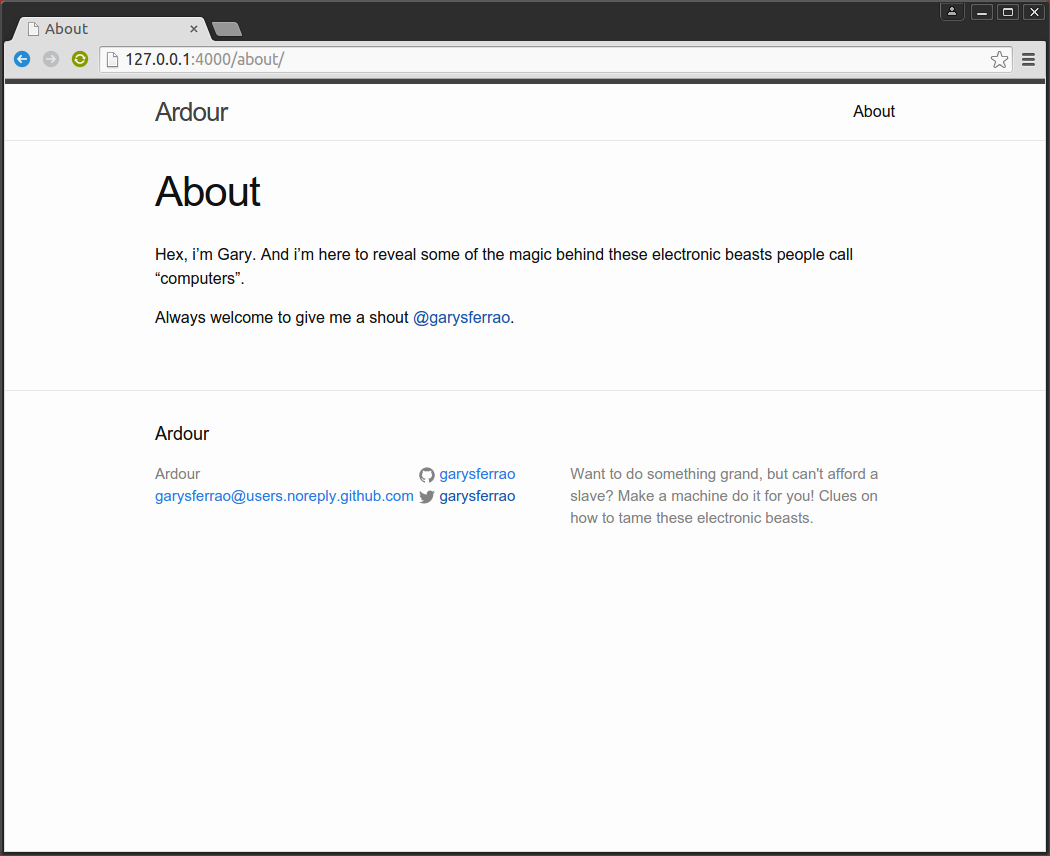
-
Let others know who you are. It’s in
about.md.
-
See Jekyll do the magic as soon as the changes to the file are saved.
5. Now you got a blog. What next?
You’ll find this post in your _posts directory. Go ahead and edit it and re-build the site to see your changes. You can rebuild the site in many different ways, but the most common way is to run jekyll serve, which launches a web server and auto-regenerates your site when a file is updated.
To add new posts, simply add a file in the _posts directory that follows the convention YYYY-MM-DD-name-of-post.ext and includes the necessary front matter. Take a look at the source for this post to get an idea about how it works.
Jekyll also offers powerful support for code snippets:
def print_hi(name)
  puts "Hi, #{name}"
end
print_hi('Tom')
#=> prints 'Hi, Tom' to STDOUT.
Check out the Jekyll docs for more info on how to get the most out of Jekyll. File all bugs/feature requests at Jekyll’s GitHub repo. If you have questions, you can ask them on Jekyll’s dedicated Help repository.
5. Alright, now we need to post!
-
Head over to
_postsdirectory, and add (actually, just rename) the file like how Jekyll said so in the previous point 5.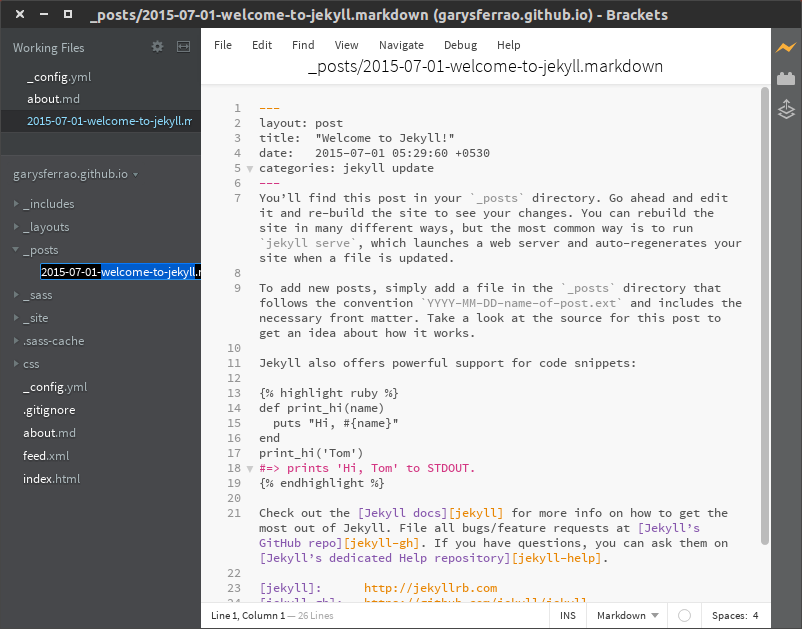
-
Type in your post. There won’t be a screenshot for that!~
P.S. If you’re a master of perfection…
…you might want to correct the date format. The two visible places
are in _layouts/post.html and index.html.

6. Don’t forget to push your changes to GitHub
cd ~/username.github.io/
git add --all
git commit
git push -u origin master
You can now view your blog at https://username.github.io.
Thank you for scrolling to the bottom of this page! Do let me know how it was.